Creating a new scenario from scratch
Guide to streamlining WhatsApp chat along customer's journey

Adelia
Last Update il y a 4 ans
Follow these steps to start your bitCRM Automation or watch this video below:
Step 1.
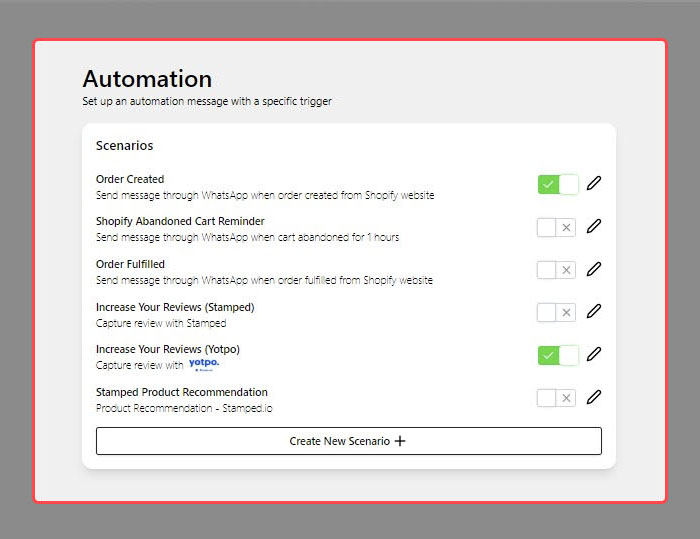
- Open bitCRM, Go to “Automation”
- Click “Order Created" or "Create New Scenario"
Step 2.
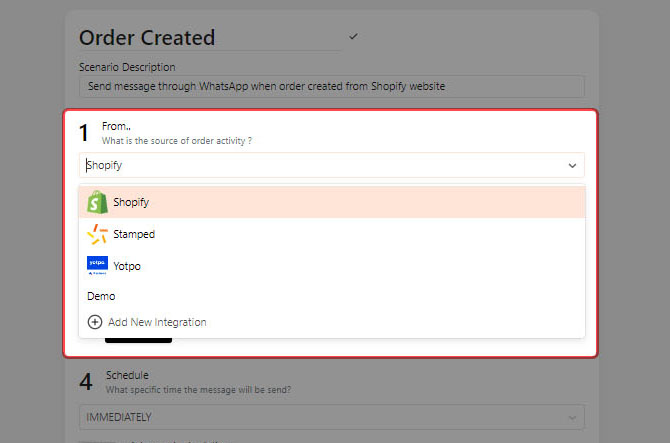
- Fill in the “Scenario Description”
- Select “From” and select the source of order activity
Step 3.
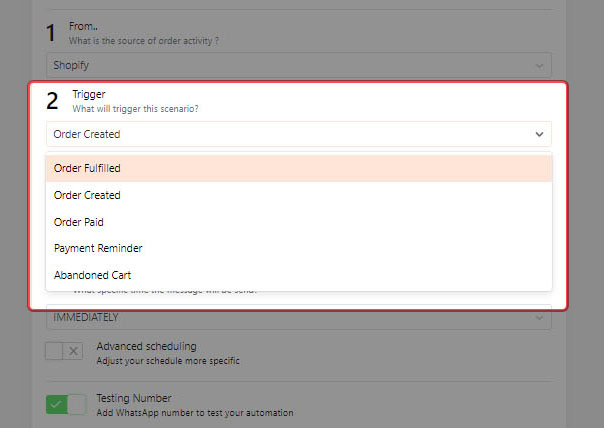
- Select a "Trigger "
b. Order Fulfilled: Order is shipped to customer's house
c. Order Paid: The order has been paid.
d. Payment Reminder: For Customers that have not paid yet.
e. Abandoned Cart: For customers with items in their cart.
Step 4.
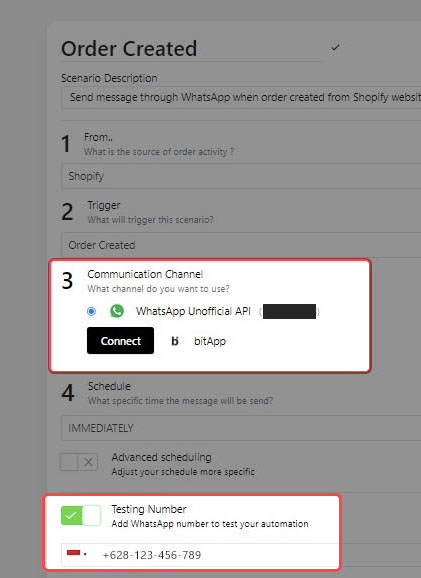
- Connect to your Communication Channel “Whatsapp Unofficial API”
- Your number will appear in the black space after you connected.
Step 5.
-Include a testing number and test out Automation
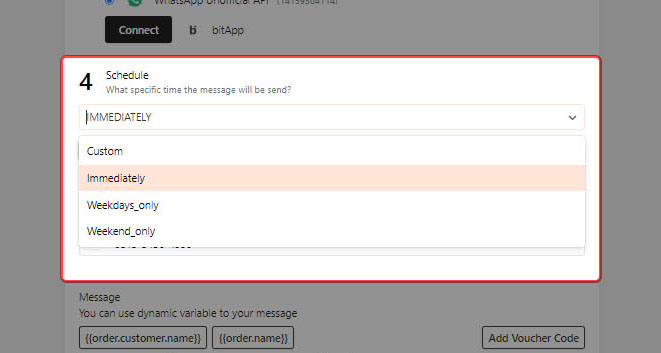
-Schedule the message
a. Immediately: Immediately after trigger is fired. Don't fill in Advance scheduling
b. Weekdays_only : Will be delivered immediately at Weekdays after trigger is fired. Don't fill in Advance scheduling
c. Weekend_only : Will be delivered immediately at Weekends after trigger is fired. Don't fill in Advance scheduling
d. Custom : Select this, and fill in "Advance Scheduling" to customizable schedule.
Step 6.
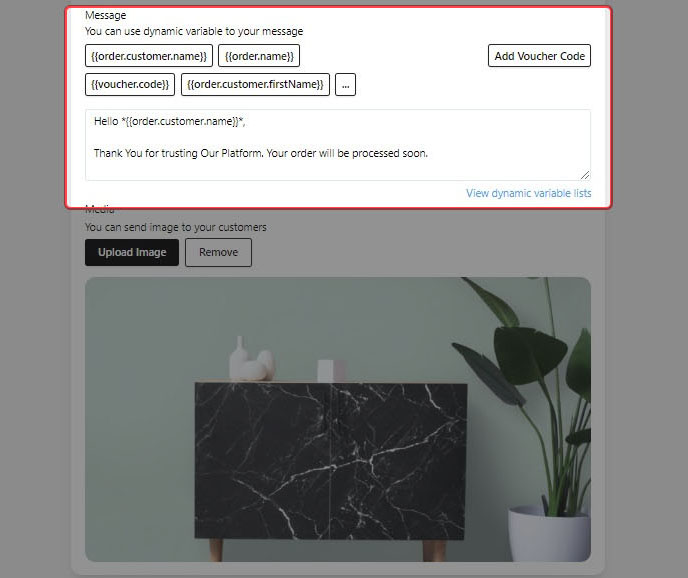
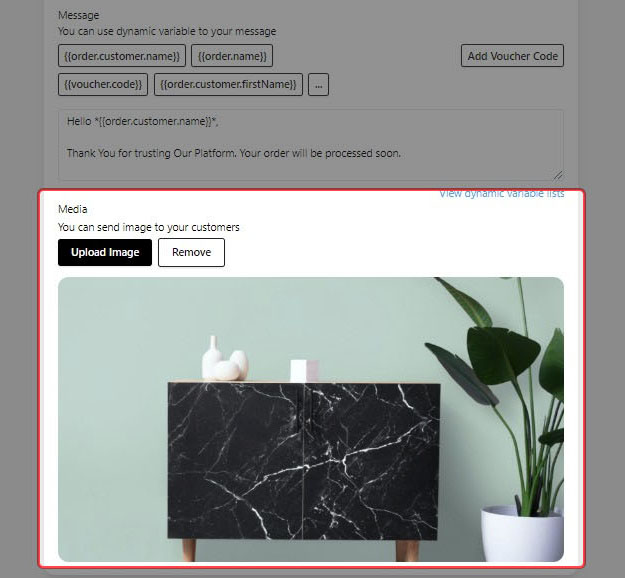
- Create a personalized message, by clicking dynamics variables like below.
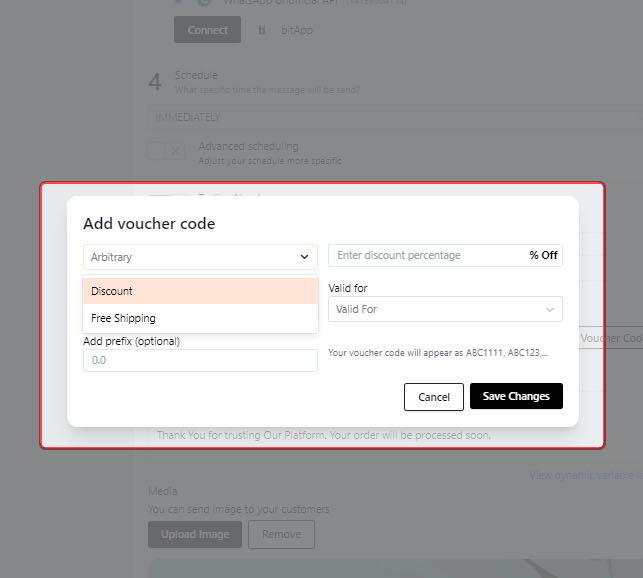
- And Click "Add Voucher Code" to add a discount/free shipping voucher.
Step 7.
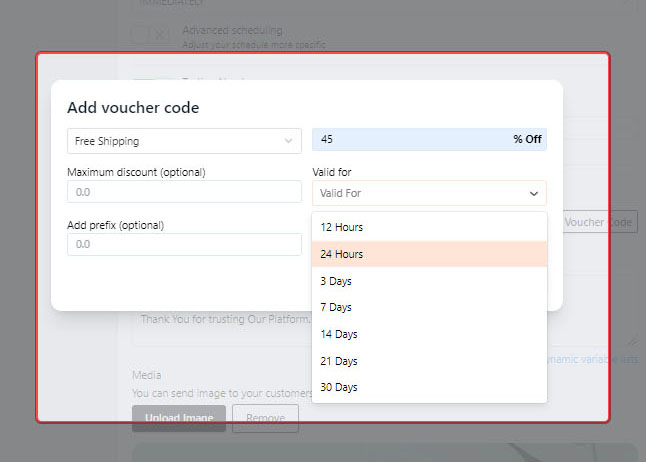
-Fill in the Voucher code form
-Save by clicking "Save Changes"
Step 8. (Optional)
-Upload media that will appear at your message.
Step 9.
- Finally, Click Submit, to test out your Automation.
Once done, your Automation will appear in the Automation Dashboard and don't forget to check your WhatsApp!
If you have any questions, feel free to email us : [email protected]
or chat us at : https://wa.me/14159364114?text=